By following this recipe you’re gonna make two amazing types of cookies that are:
Too pretty to eat.
Too beautiful to take your eyes off.
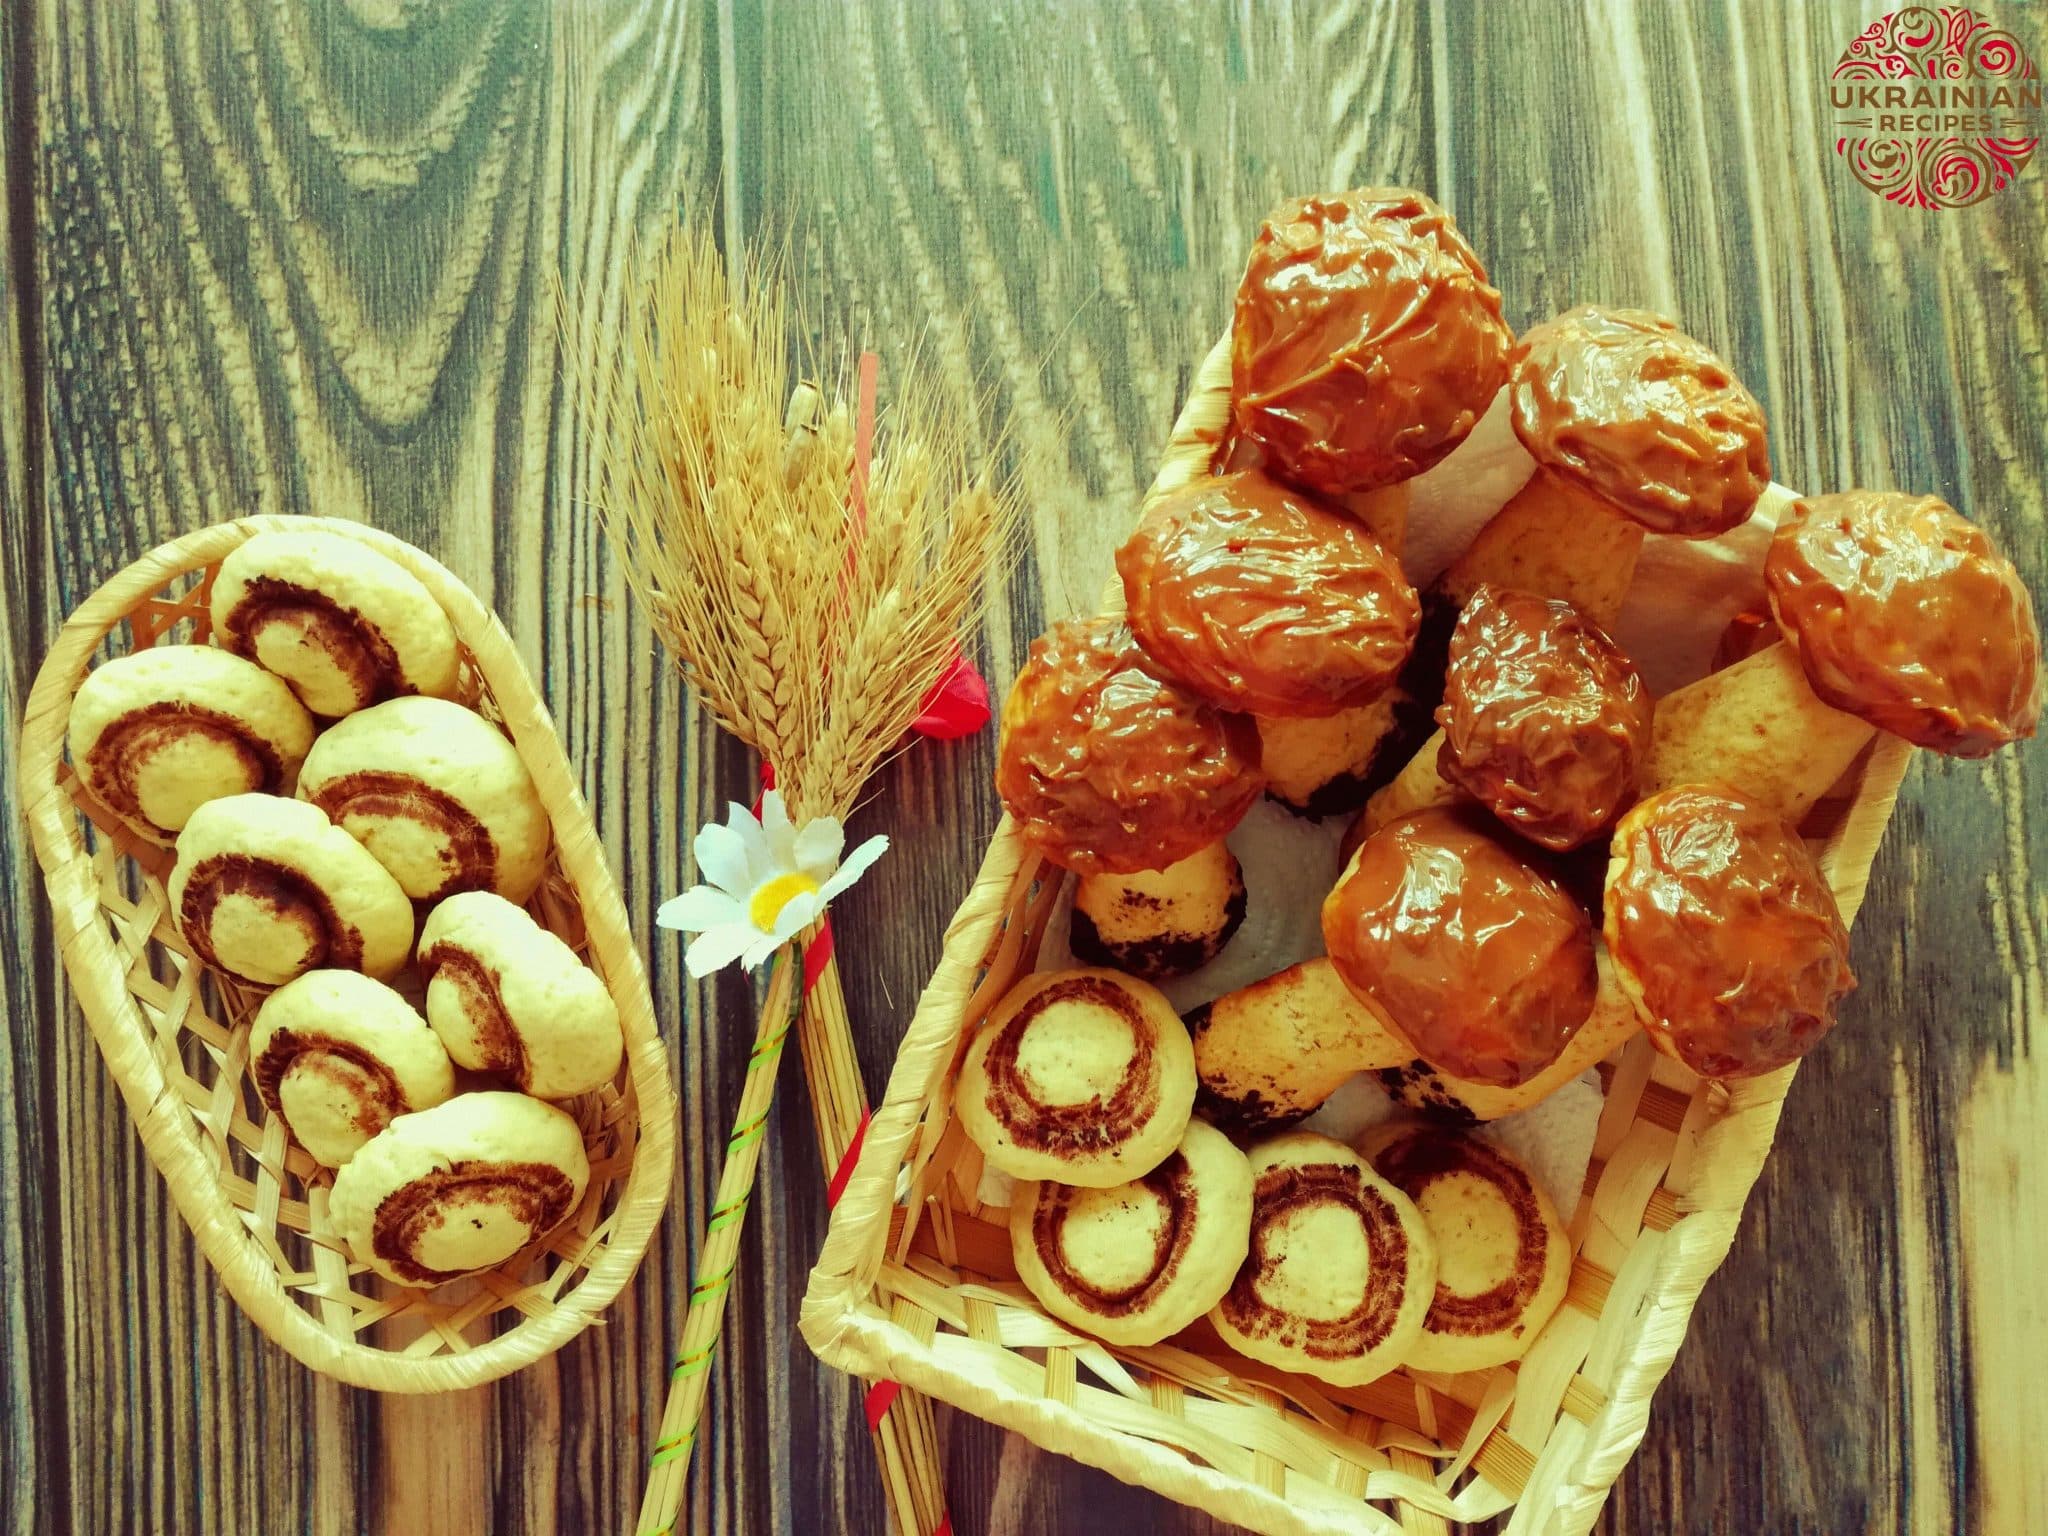
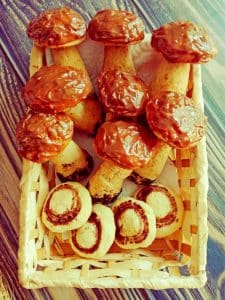
They look very realistic resembling the shape of champignons and ceps with the heads coated with caramelized milk and stems covered with poppy seeds to represent a sandy root.
These cookies can become a wonderful dessert décor on any festive table. They catch the attention of both children and adults.
Though these cookies are rather time-consuming to cook, it’s fair to say that the process of creating these marvelous mushrooms is worth every minute spent. It’s like creating a sandy piece of art.
Ingredients:
- 2 eggs
- 1 tsp soda
- 1/2 tsp salt
- 3 whole walnuts
- 200 g (7 oz) sugar
- 1 tsp vanilla sugar
- 480 g (17 oz) flour
- 100 ml sour cream
- 100 g (3,5 oz) starch
- 200 g (7 oz) dairy butter
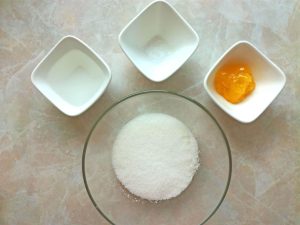
Syrup
- 4 tbsp water
- 150 g (5 oz) sugar
- citric acid (tip of a teaspoon)
- 1 tbsp honey
Decoration
Champignons
- 200 ml water
- 1 tbsp of cocoa powder
Ceps
- 2 tbsp sugar
- 1 white of an egg
- 3 tbsp poppy seeds
- 200 ml caramelized milk
Cooking
One, two, three, go!
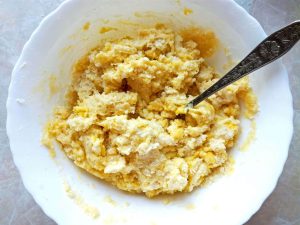
For making our wonderful mushrooms we will use shortcrust pastry, and to help sugar dissolve in the pastry quickly, we will grind it. You can use a blender or simply place sugar in a plastic bag/waffle kitchen towel and beat it with a kitchen hammer. Transfer the sugar to a bowl, and add vanilla sugar, salt, and soda (it will help make the dough fluffy which is very important since we will bake volumetric figures, not flat cookies). Stir in (400 g – 14 oz) of flour (at the end we will add the remaining flour to prevent the dough from sticking to hands), and starch that will make our dough airy. Add soft dairy butter to the mass. Next, add starch that will make our dough airy and sour cream that will give the dough softness and neutralize the flavor and taste of starch.
Now we will add eggs to make our dough elastic, easy to shape and able to preserve its form. We need one whole egg and one additional yolk. Knead the dough and add the remaining flour (75/85 g – 2,5/3 oz) until the dough stops sticking to your hands.
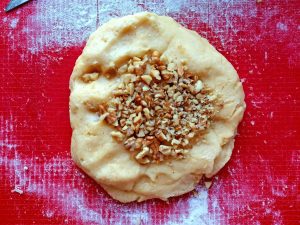
Divide the dough into 3 equal parts. Chop walnuts finely and mix them with one part of the dough carefully. Cover all dough pieces with a plastic food wrap and put them in a fridge for 30 minutes.
At first we’ll shape mushroom caps
Preheat the oven to 180°C (356°F).
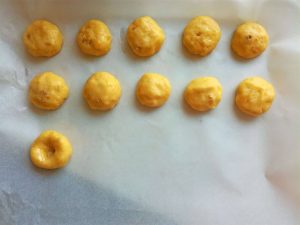
Take the dough with walnuts out of the fridge and roll it into a long sausage with a 3-4 cm diameter and 35 cm length. Cut into 16 equal pieces. Shape each piece in the form of a hemisphere and make a little deepening (1 cm) underside (this is very important to tightly attach stems).
Line a baking sheet with parchment paper and transfer our “caps” there, laying them face down 2 cm apart. Bake the cookies for 15-17 minutes until a light golden color.
Now let’s make stems
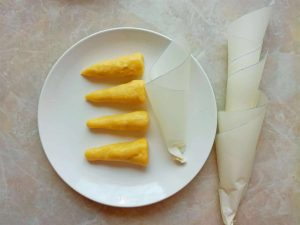
Roll the dough into a sausage (3-4 cm in diameter and 35 cm in length). Cut it into 16 pieces that are equal in size. Shape little logs (6-7 cm in length) with a narrowed nose – one side should be wider (2cm), another – thinner (5-7 mm).
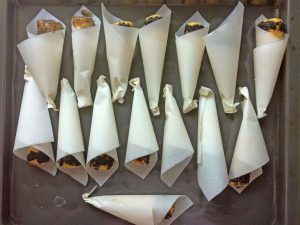
We need to make paper cones using parchment paper. At first cut out 16 equal squares (14 x 14 cm). Then roll each piece of paper into a cone. (Upper side should have 3 – 3.5 cm in diameter, bottom side – 5 mm in diameter).
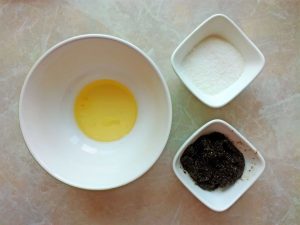
Whip the remaining white of an egg and add 2 tbsp of sugar. Put 3 tbsp of poppy seeds in a second bowl. Dip the stem into the egg mass (by 1.5 cm), then into the poppy seed mass (by 1.5 cm) and put it in the cone at once.
Arrange the cones above a baking sheet and bake them in the oven at 180°C (356°F) for 20-25 minutes.
Let the mushroom caps cool. If deepenings are not big enough, you can make them bigger with the point of a knife. Plus, while baking, the dough becomes crusty, so it’s better to remove it (that will facilitate the process of fastening stems to the soft texture). Start scraping out the centers at once (since when the cookies will cool, you won’t be able to do this).
Tiny, tempting champignons
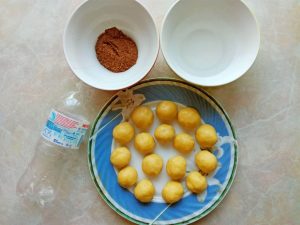
Roll the dough into a long sausage with a 3-4 cm diameter and 35 cm length. Cut into 16 equal pieces. Shape little balls.
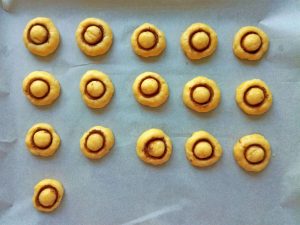
Now we need a little plastic bottle. Put 1 tbsp of cocoa powder in one bowl, and pour water in a second bowl. Dip the bottle neck in water, and then dip it in cocoa. Dig the bottle neck in the center of the ball (by 1/2 cm) and scroll for a couple of times. Do the same with other balls.
Arrange champignons above a baking sheet (leaving 2 cm space between them). Bake them at 180°C (356°F) for 15 minutes. Do not bake more than a quarter of an hour, since champignons should have a white color and should not be roasted.
Crystal clear sugar syrup
Pour 4 tbsp of water in a saucepan. Pile sugar (right in the center). Turn on the fire, bring the mass to boil. Then reduce the fire to a minimum and continue to cook the syrup for 5-7 minutes until it changes its color to golden and becomes crystallized. The consistency of the syrup should resemble the one which liquid honey has. Now let’s quickly stir in citric acid.
Pour cold water in a bowl and put our saucepan there (to let the syrup cool quickly – around 3-4 minutes). At the end, we add honey that will prevent our syrup to become caramel and will make the consistency of the syrup more dense and sticky. (Do not leave the syrup for a long time, use it at once, in other case it will become too dense).
Dip the stem in the syrup and stick it to the cap. Repeat the procedure until you form all the mushrooms. Do not press too intense to prevent damaging the cap.
Final stage – Decoration. It’s time to add some beauty
Now let’s decorate our mushrooms. I used caramelized milk. Simply grease mushroom caps with it – and voila, you’re done.
If you want to give the mushroom caps a darker color, you can use any chocolate glaze you like or simply melt the chocolate.
One more useful piece of advice. If you decide to use a glaze, you’ll need to put your mushrooms somewhere until the glaze will set. You can use an egg box or take a big pan, pull plastic wrap above and make little cross-type cuts with a knife. Then you can easily put your mushrooms there and let them “rest.”
Enjoy your meal!
Have you liked the recipe for cookies mushrooms?
Join and follow us on social media to keep up-to-date with our freshest recipes, cooking tips, and entertaining articles related to the Ukrainian people, culture, and traditions!
Find us on Facebook, Instagram, Google+, Pinterest, etc. to comment and share your favorite Ukrainian recipes with friends and relatives!

